Introduction
Thinning at the crown? Noticing a widening part line? You’re not alone. Millions search for a safe, affordable way to boost hair density without prescription drugs or surgery. Enter scalp microneedling—better known as derma rolling. This complete guide walks you through exactly how to derma roll scalp for hair growth, from picking the right device to tracking results.
Understanding Scalp Microneedling for Hair Growth
Scalp microneedling uses a handheld roller covered with fine needles to create microscopic channels in the skin.
These micro-injuries trigger the body’s natural wound-healing cascade:
- Inflammation – Platelets rush in, releasing growth factors.
- Proliferation – Collagen and elastin production accelerate; stem cells activate dormant follicles.
- Remodeling – Blood circulation improves, delivering oxygen and nutrients to the hair bulb.
In a 2013 randomized trial (Dhurat et al., International Journal of Trichology), subjects using a 1.5 mm derma roller plus 5% minoxidil saw a four-fold increase in hair count over minoxidil alone.
Clinical dermatologists frequently pair dermarolling with topical minoxidil, low-level laser therapy (LLLT), or platelet-rich plasma (PRP) to enhance penetration and efficacy. Because the technique is mechanical—not hormonal—it works for both men and women, androgenic alopecia or telogen effluvium sufferers alike.
Pro tip: Think of microneedling as “aerating the lawn” of your scalp so nutrients and treatments sink deeper.
Have you wondered whether the pain is tolerable or the results worth the effort? Keep reading—you’ll get all the answers, plus a step-by-step protocol you can start tonight.
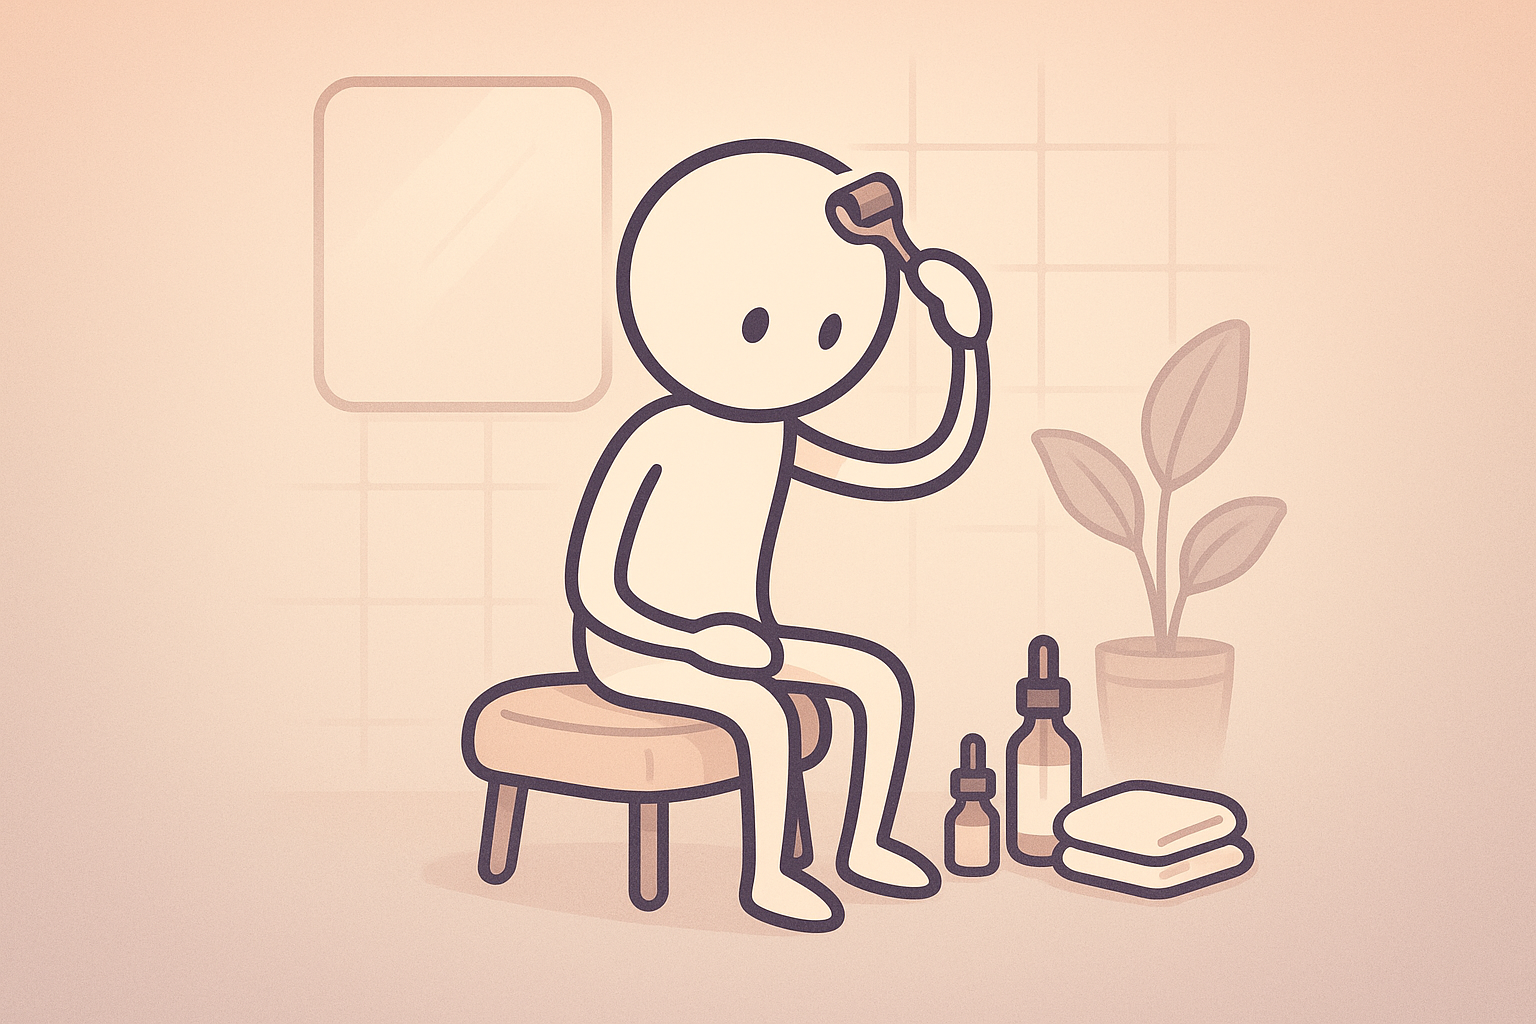
How to Use a Derma Roller on Your Scalp
Ready to roll? Follow this seven-step routine for safe, effective sessions.
1. Sanitize Everything
• Soak your derma roller in 70% isopropyl alcohol for 10 minutes.
• Wash your hands thoroughly and tie back long hair.
2. Cleanse and (Optional) Numb
• Shampoo the scalp with a gentle, SLS-free cleanser.
• Pat dry and, if sensitive, apply 4% lidocaine cream for 15 minutes, then wipe off.
3. Section the Scalp
Clip hair into quadrants so you can see the skin clearly. A misting bottle helps keep strands out of the way.
4. Rolling Technique
- Place the roller at the edge of the target area.
- Roll horizontally, vertically, and diagonally—4–6 passes per direction.
- Lift (don’t drag) between passes to avoid scraping.
- Maintain light, even pressure; slight redness is normal, pinpoint bleeding shouldn’t exceed specks.
5. Session Frequency
• 0.25–0.5 mm needles: 2–3 times per week.
• 1.0–1.5 mm needles: every 10–14 days, giving the scalp time to recover.
6. Immediate Aftercare
Apply a sterile, hair-friendly serum (see Aftercare section) while micro-channels remain open for ~10 minutes.
7. Clean & Store
Rinse the roller under hot water, disinfect with alcohol again, air-dry, and return it to its case.
Pro tip: Set a phone timer for consistency; total roll time per zone should be about 60 seconds.
Feeling overwhelmed? Take it slow—your first session can cover only the thinning area around the hairline until confidence builds.
Choosing the Right Derma Roller: Needle Sizes Explained
With Amazon listings ranging from 0.25 mm to 2.5 mm, how do you know which is safe for scalp therapy?
| Needle Length | Best For | Frequency | Pain Level |
|---|---|---|---|
| 0.25 mm | Enhancing product absorption | 2–3× weekly | Minimal |
| 0.5 mm | Early thinning, increased circulation | Weekly | Mild |
| 1.0 mm | Moderate androgenic alopecia, post-transplant upkeep | Bi-weekly | Moderate |
| 1.5 mm | Resistant patches, combining with PRP/clinic visits | Monthly/Pro use | Higher |
Key points:
• Avoid lengths over 1.5 mm at home—risk of scarring rises sharply.
• Choose titanium or medical-grade stainless steel needles for durability and hygiene.
• Replace rollers every 10–12 sessions; dull needles tear skin instead of penetrating cleanly.
Dr. Shilpi Khetarpal, Cleveland Clinic dermatologist, told Healthline, “Anything longer than 1.5 mm really belongs in a professional setting where sterility and depth control are guaranteed.”
Price matters, but so does quality. Budget rollers (< $15) often bend quickly. Spending $25–$40 can save your scalp—literally.
Pre-Rolling Prep: Hygiene and Safety Tips
Infection is the #1 DIY microneedling hazard. Set up a sanitary workspace:
- Disinfect Surfaces – Wipe counters with 70% alcohol; lay down a clean towel.
- Tool Sterilization – Alcohol soak, UV box, or autoclave (if available).
- Personal Contraindications
- Active scalp infection (folliculitis, ringworm)
- Psoriasis or eczema flare
- Accutane use within 6 months
- Poor wound healing/diabetes without medical clearance
Warning: Redness lasting >3 days, oozing, or pustules signal infection—seek medical care promptly.
- Patch Test new serums on inner arm 24 h before your first roll.
- Sun Check – Don’t roll on sunburned scalp; postpone until fully healed.
Got long acrylic nails? Wear disposable nitrile gloves to avoid harboring bacteria. Remember, hygiene equals results—micro-channels double as entryways for pathogens.
Common Mistakes to Avoid with Scalp Microneedling
Even seasoned DIYers slip up. Watch for these pitfalls:
• Over-rolling – More passes ≠ more growth. Excess trauma delays healing.
• Wrong Pressure – White knuckles pressing hard flatten needles, causing scratches.
• Skipping Disinfection – Reusing a dirty roller can introduce staph bacteria.
• Mixing Actives Unwisely – Retinoids + microneedling may cause chemical burns.
• Impatience – Visible results require weeks; don’t jump to 1.5 mm after two sessions.
Pro tip: Log sessions in a hair diary (date, needle size, topicals) to spot patterns and prevent overuse.
Ask yourself: Am I giving my scalp enough recovery time? Have I replaced my roller this quarter? Honest answers keep your journey safe and successful.
Aftercare: Maximizing Results with Serums and Protection
The “golden hour” post-rolling is prime time for absorption. Choose lightweight, alcohol-free formulas.
Best Topicals to Pair
- 5% Minoxidil – Evidence-backed follicle stimulator; apply 24 h after > 0.5 mm sessions to reduce irritation.
- Copper Peptides (GHK-Cu) – Promote angiogenesis and collagen.
- Stem Cell or Growth Factor Serums – TGF-β3 balanced blends aid regeneration.
- Hyaluronic Acid – Rehydrates without clogging follicles.
UV & Pollution Defense
Microneedling temporarily thins the stratum corneum; SPF 30+ is mandatory for outdoor exposure. Wear a hat for at least 48 hours.
Scalp Care Timeline
• First 24 h: Skip sweaty workouts, saunas, chlorinated pools.
• 48 h: Gentle sulfate-free shampoo; avoid scratching.
• 72 h: Resume normal styling, but hold off on harsh dyes or relaxers for one week.
Timeline for Visible Results: What to Expect
Patience pays off. Here’s a realistic roadmap:
| Week | What’s Happening | What You See |
|---|---|---|
| 0–2 | Inflammation phase | Mild redness, scalp feels tighter |
| 2–6 | Collagen proliferation | “Shedding” of weak hairs may scare you—normal! |
| 6–12 | Remodeling initiates | New vellus hairs (“peach fuzz”) appear |
| 12–24 | Full cycle growth | Noticeable thickness, decreased widening |
| 24+ | Maintenance | Continue schedule to retain gains |
A 2020 meta-analysis in the Journal of Cosmetic Dermatology found an average 30–40% increase in hair density at six months when microneedling was combined with minoxidil.
Mini Case Study
– Subject: 34-year-old male, Norwood II recession
– Protocol: 1.0 mm roller every 10 days + nightly 5% minoxidil foam
– Outcome: 28% hair count increase at 16 weeks, validated by dermatoscope photography.
Still anxious? Ask yourself: Would I give the gym only a month before judging my transformation? Hair cycles are slower—stick to the plan.
Conclusion
Microneedling may look intimidating, yet with the right technique, hygiene, and patience, it’s one of the most cost-effective DIY tools for boosting circulation, collagen, and ultimately hair density.
Key Takeaways
• Choose a quality 0.5–1.0 mm derma roller for home use.
• Sanitize everything—your scalp, the device, your workspace.
• Roll lightly in three directions, no more than 4–6 passes each.
• Pair sessions with proven serums and daily SPF protection.
• Track progress for at least 12 weeks before judging success.
Ready to reclaim thicker locks? Grab a sterile derma roller, follow this guide, and start your journey to healthier hair today. Your future self—and follicles—will thank you.
Pro tip: Consistency is the real secret sauce. Mark your calendar, take monthly photos, and celebrate every millimeter of new growth!
Have more questions? Drop them in the comments—let’s troubleshoot your scalp microneedling routine together!