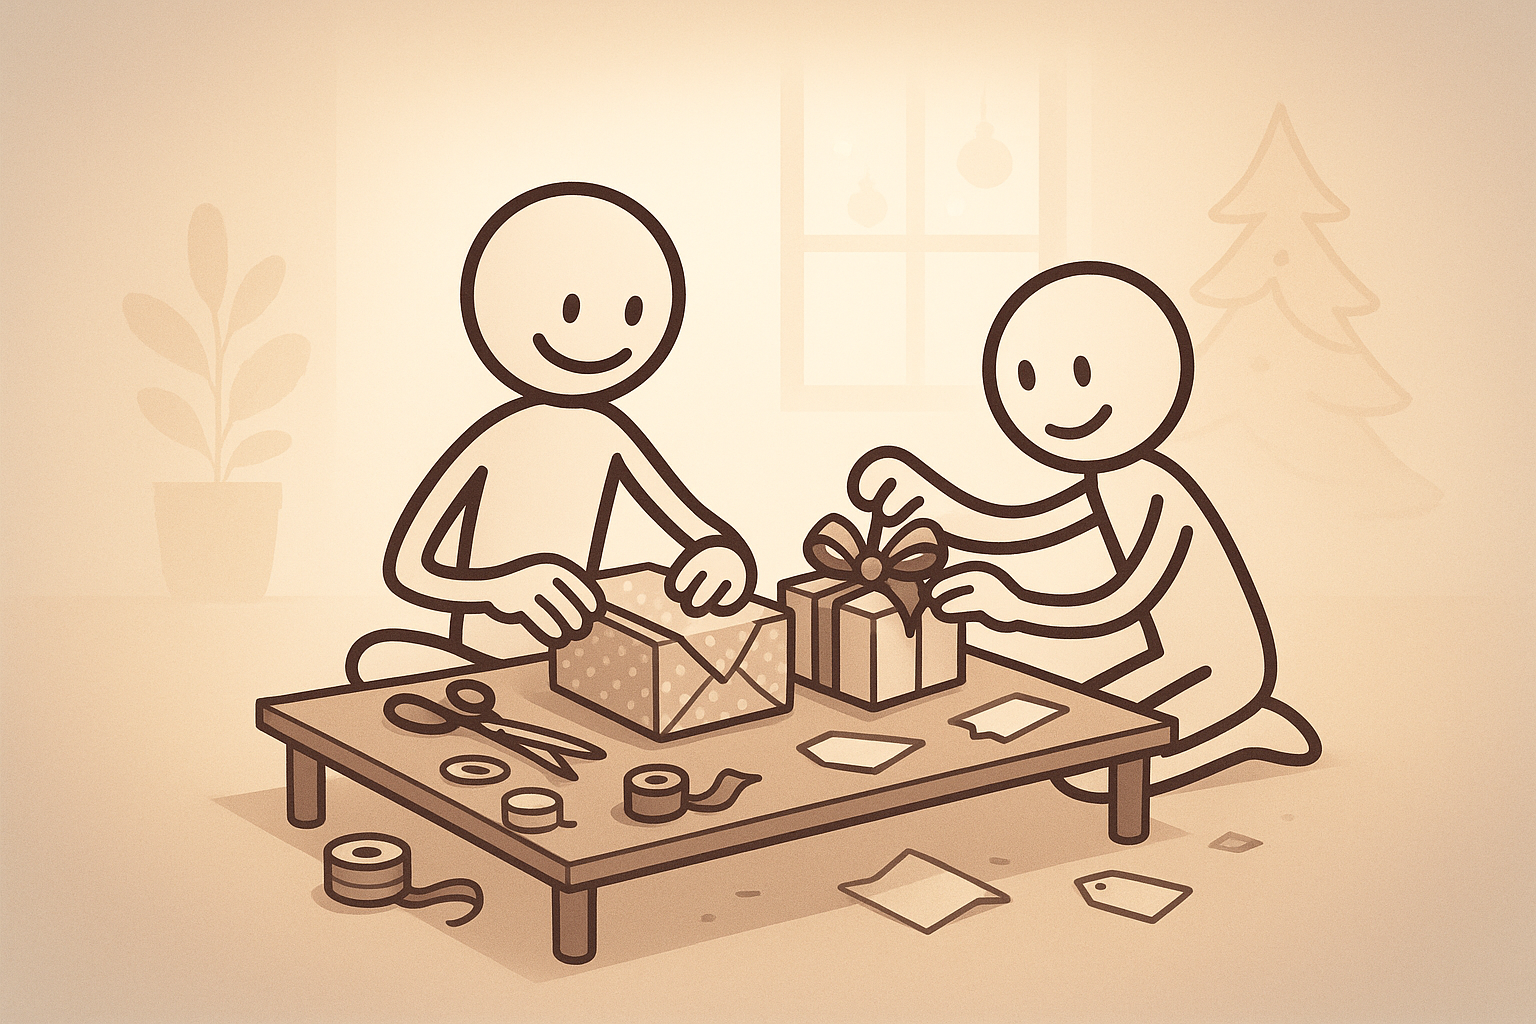
Introduction
Is there anything more satisfying than handing over a flawlessly wrapped present and watching someone’s eyes light up?
Whether it’s a birthday, a baby shower, or the holiday rush, knowing how to wrap a present can save you time, money, and stress.
Yet many of us end up with crumpled paper, wasted tape, and corners that refuse to stay flat.
Why does presentation matter? Retail analysts note that consumers are willing to pay up to 20 % more for the same product when it’s elegantly packaged. A neat wrap signals thoughtfulness and care—qualities we all want to convey.
In the next sections you’ll discover the essential tools, a clear 10-step method, and clever ways to add personality without breaking the bank.
Pro tip: Practice on an empty cereal box first. The rigid shape lets you master folds and edges before risking premium paper.
Ready to level up your wrapping game? Let’s dive in.
Essential Tools & Materials for Perfect Gift Wrapping
Before learning how to wrap a present, assemble a mini “wrapping station.” Having everything within arm’s reach prevents mid-fold chaos.
Must-Have Basics
- Quality wrapping paper (60–80 gsm for crisp folds)
- Sharp scissors for clean edges
- Double-sided tape to hide seams
- Regular tape or washi tape for temporary holding
- Gift tags & a fine-tip marker
- Decorative ribbon or twine
Helpful Extras
- Bone folder or old credit card to crease edges
- Craft knife & metal ruler for precision cuts
- Fabric ribbon wire for shaping bows
- Tissue paper or shredded kraft paper for cushioning
- Measuring tape to size paper accurately
Pro tip: Store rolls upright in a tall bin to prevent creasing and save valuable closet space.
Sizing Cheat Sheet
- Measure the longest side of your box.
- Multiply by 2 and add the box’s height—this is your paper length.
- For width, wrap around the short side once and add 2 cm overlap.
Keep these numbers on a sticky note near your paper roll so you never waste material again.
Have you ever scrambled for scissors mid-fold? Organizing tools up front removes that pain point and sets you up for pro-level corners.
Step-by-Step Guide: How to Wrap a Present Like a Pro
Follow these 10 simple steps and you’ll know how to wrap a present perfectly every time.
1. Prepare a Flat Surface
Clear a table and wipe off crumbs. A smooth workspace prevents snags and dents.
2. Cut the Paper to Size
Lay the box top-down on the reverse side of paper. Using the sizing cheat sheet, mark and cut with long, steady strokes.
3. Secure the First Edge
Place the box back in the center. Pull one long edge up and secure with a single strip of regular tape.
4. Wrap and Overlap
Pull the opposite edge up tightly, creating tension. Fold under 1 cm for a clean seam, then adhere with double-sided tape so the joint is invisible.
Pro tip: “The secret to sharp corners is tension—keep the paper tight to the box,” says professional gift-wrap artist Jane Means.
5. Create Side Flaps
On one short end, push the top layer of paper inward, forming two small triangular wings.
6. Fold Down the Top Triangle
Crease sharply with a bone folder and tape it down.
7. Fold Up the Bottom Triangle
Tuck the raw edge under 1 cm, then secure with double-sided tape. Repeat steps 5-7 on the other end.
8. Add Ribbon
Center the ribbon under the box. Bring ends up, cross on top, then flip and tie a square knot.
9. Form a Bow
Create two loops (“bunny ears”) and tie them together. Adjust tails and trim at a 45° angle for polish.
10. Finish with a Tag
Thread a gift tag through ribbon or adhere to the top seam. Write the recipient’s name neatly.
Take a moment to admire those crisp edges—see how professional it looks?
Quick check: Tug the ribbon—does everything stay in place? If yes, you’ve mastered how to wrap a present like a pro.
Common Mistakes to Avoid When Wrapping Gifts
Even seasoned DIYers slip up. Spotting pitfalls early means you’ll waste less paper and time.
1. Using Dull Scissors
Frayed edges scream “last minute.” Keep blades sharp or invest in non-stick craft scissors.
2. Too Much Paper
Excess bulk at the ends leads to messy folds. Measure before you cut.
3. Skipping Double-Sided Tape
Visible tape breaks the illusion of seamless wrapping. Hide it whenever possible.
4. Ignoring Box Orientation
Patterned paper needs alignment. Place graphics upright relative to the gift’s top.
5. Rushing the Corners
Corners are a presentation focal point. Slow down and press each crease.
Pro tip: If your corners puff out, pinch the inner fold inward to “lock” the paper flat.
6. Forgetting Cushioning for Fragile Items
A rattling box feels careless. Add tissue or shredded paper to fill empty space.
7. Neglecting Odd Shapes
Trying to force round or irregular objects into paper wastes time. Opt for gift bags, fabric wraps, or tubes instead.
Which of these mistakes has tripped you up before? Knowing your weak spots is half the battle.
Creative Gift Wrapping Ideas for Any Occasion
Mastering how to wrap a present opens a world of creativity. Small tweaks can turn basic paper into Instagram-worthy art.
Theme Your Wrap
- Nature-inspired: Kraft paper, jute twine, sprig of rosemary.
- Minimalist: Solid white wrap, black satin ribbon, monogram tag.
- Kids’ party: Comic pages, bright yarn bow, balloon tag.
Layer Textures
Combine matte paper with glossy ribbon, or pair burlap string with metallic paper for contrast.
Stamping & Stenciling
Use alphabet stamps to spell names directly on the paper. A snowflake stencil and white paint transform plain blue wrap into winter magic.
Interactive Elements
Attach a mini ornament, cookie cutter, or scratch-off card. It’s a gift on top of a gift!
Color Blocking
Wrap two-thirds of the box in one color and the remaining third in a contrasting hue. Secure the seam with a decorative strip of washi tape.
Pro tip: Keep a small box of leftover ribbon scraps. Mixing colors and textures often looks more intentional than buying a brand-new roll.
Ask yourself: Which idea sparks joy for your recipient? Tailoring wrap style to personality turns gifting into an experience.
Examples of Unique Gift Wrapping Techniques
Seeing how to wrap a present across different shapes prepares you for any surprise.
1. Cylinder (Wine Bottle or Candle)
- Stand the bottle on centered paper.
- Pull sides up and secure along the bottle’s seam.
- Gather the excess at the neck, twist, and tie with ribbon.
- Fan out the top for a floral look.
2. Fabric Furoshiki
This Japanese method uses a square cloth—great for books or boxes.
- Lay cloth diamond-shape.
- Place gift in center.
- Tie opposite corners over gift.
- Tie remaining corners into a knot or bow.
3. Origami Envelope for Gift Cards
- Fold a square of decorative paper in half diagonally.
- Fold corners to meet center, creating a pocket.
- Secure with a sticker seal.
4. Conical Treat Bag
Perfect for baked goods. Roll parchment into a cone, fill, then tie the top with baker’s twine.
5. Paper “Cracker” for Small Toys
Wrap small item in tissue, leaving excess on ends. Twist ends and tie ribbon—just like a festive cracker.
Pro tip: For spheres (e.g., plush toys), use two sheets of tissue placed at 90° angles, gather at the top, and cinch with ribbon.
These techniques prove you can adapt how to wrap a present to almost any shape, eliminating the dreaded last-minute scramble for a box.
Eco-Friendly and Budget-Friendly Wrapping Solutions
Sustainability doesn’t mean sacrificing style. In fact, creative reuse often leads to more memorable presentations.
Reusable Materials
- Fabric remnants or scarves double as part of the gift.
- Newspapers or old maps offer vintage charm.
- Glass jars for homemade treats—just add a ribbon.
Recycled Paper Options
Many stores sell 100 % post-consumer recycled wrapping paper. Look for FSC certification to ensure responsible sourcing.
Tape Alternatives
Use natural twine or water-activated kraft tape that’s fully recyclable.
Pro tip: Skip plastic ribbon curls. A simple knot with cotton string is biodegradable and elegant.
Budget Hacks
- Bulk-buy plain kraft paper—it’s cheap and endlessly customizable.
- Stamp potato patterns or sponge shapes with leftover paint.
- Raid dollar-store scrapbooking aisles for clearance ribbon.
Did you know the EPA estimates that household waste increases by over 25 % between Thanksgiving and New Year’s? Switching to eco-friendly wraps can significantly cut that number while teaching kids sustainable habits.
Embrace these options, and you’ll learn how to wrap a present that’s kind to both wallet and planet.
Conclusion
Mastering how to wrap a present isn’t rocket science—it’s a series of small, intentional steps. From gathering the right tools to perfecting those crisp corners, you now have a toolkit that works for birthdays, anniversaries, or that inevitable last-minute celebration.
Key Takeaways
- Measure before you cut to avoid wasted paper.
- Use double-sided tape for seamless seams.
- Tight folds and tension create professional edges.
- Personalize with texture, color, and small add-ons.
- Opt for reusable or recycled materials to save money and the environment.
Ready to impress at your next party? Grab some paper, cue up your favorite playlist, and put these 10 steps into action today. Your gifts—and your recipients—will thank you.
Pro tip: The more you practice, the faster and neater you’ll become. Set aside 15 minutes each month to experiment with new techniques.
Now it’s your turn: Which wrapping idea will you try first? Share your results on social media and tag us—let’s inspire a season of beautifully wrapped gifts!